Best YouTube Render Settings for DaVinci Resolve
https://www.groundcontrol.film/blog/best-youtube-render-settings-for-davinci-resolve
Best YouTube Render Settings for DaVinci Resolve
We Found the Best Render Settings in DaVinci Resolve for YouTube Videos
Ask five different video editors the best settings for uploading a video to YouTube and you’ll receive five different answers. We asked the same question. There’s no better way to find out than to test it ourselves.
We rendered multiple videos with different render settings and uploaded them to YouTube. We captured the footage again from YouTube, compared them, and found a clear winner.
We tested multiple source videos to see how the render settings affected skin tones and hair, small details like foliage, the gradation between low contrast colors, as well as how blotchy things seemed to be. Some videos had low motion, high motion, lots of detail, or little detail.
What render settings did we compare?
Codecs
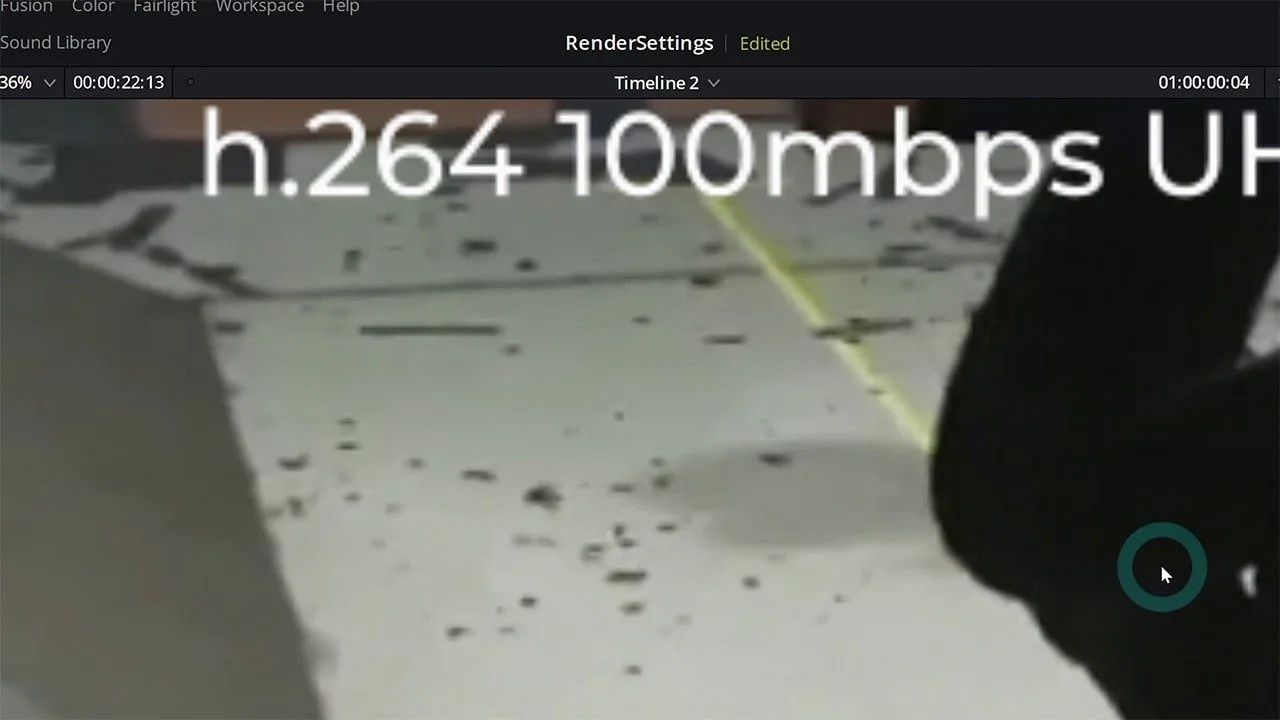
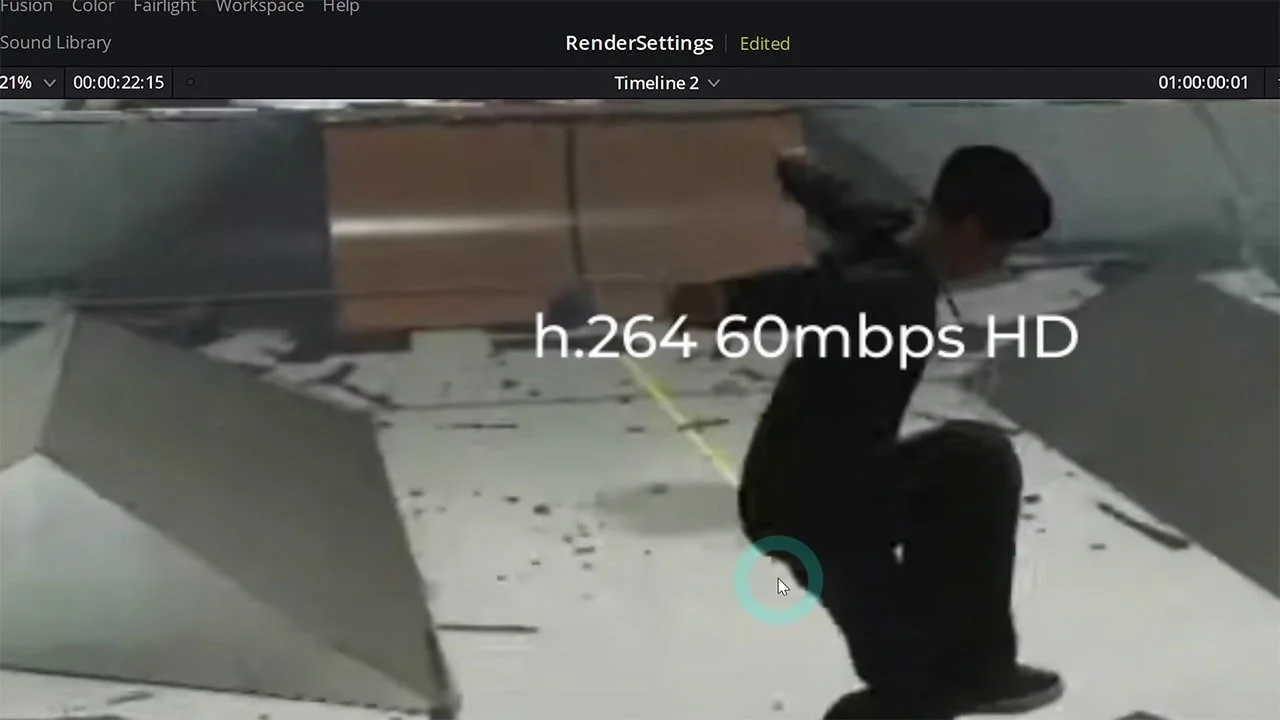
We compared the codecs DNxHR, H.264, and H.265. While there are more codecs, we tested the three we thought would produce the best quality videos.
Render Rates
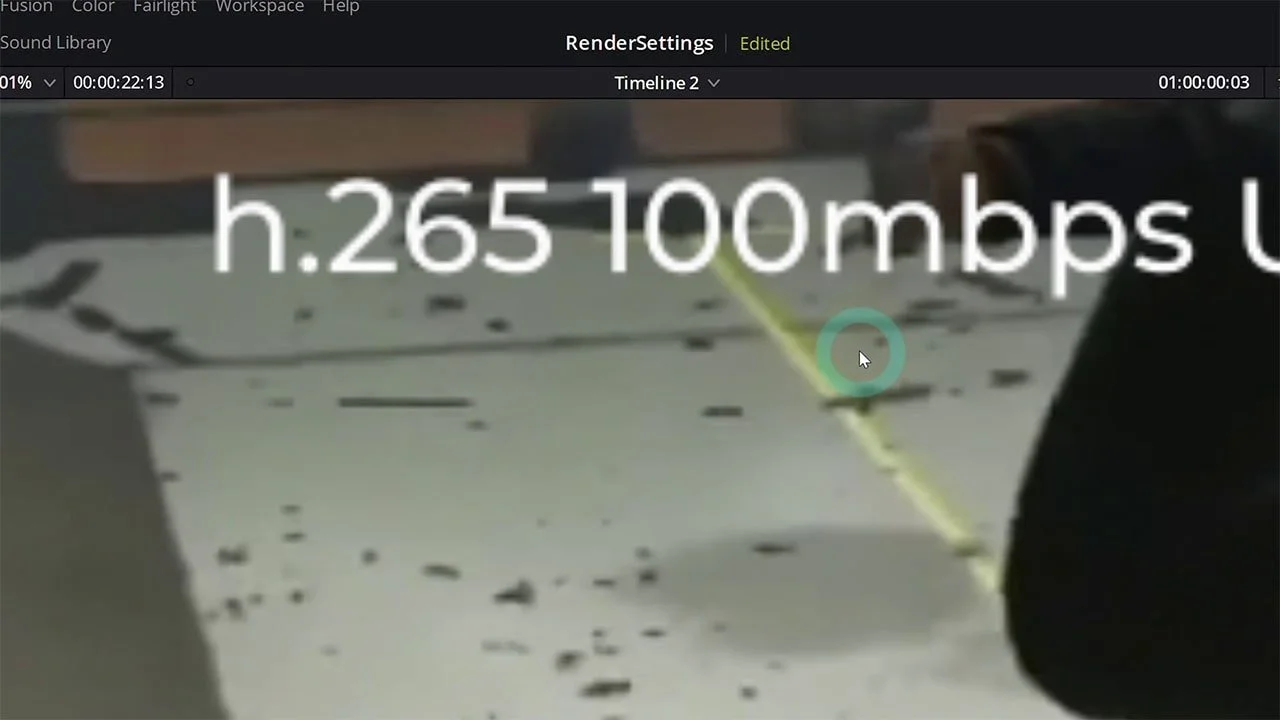
We rendered the video with each codec with 10, 25, 50, 100, and 150 mbps.
Upscaling
All of our source videos were 1920x1080p. In Da Vinci Resolve, we compared HD vs upscaling the video to 3840x2160p UHD.
What were the results?
In shots that did not have lots of detail or motion, we found only small differences between codecs and bitrates. If your footage is high action or full of beautiful details, your render settings can make a huge difference.
Comparing Codecs
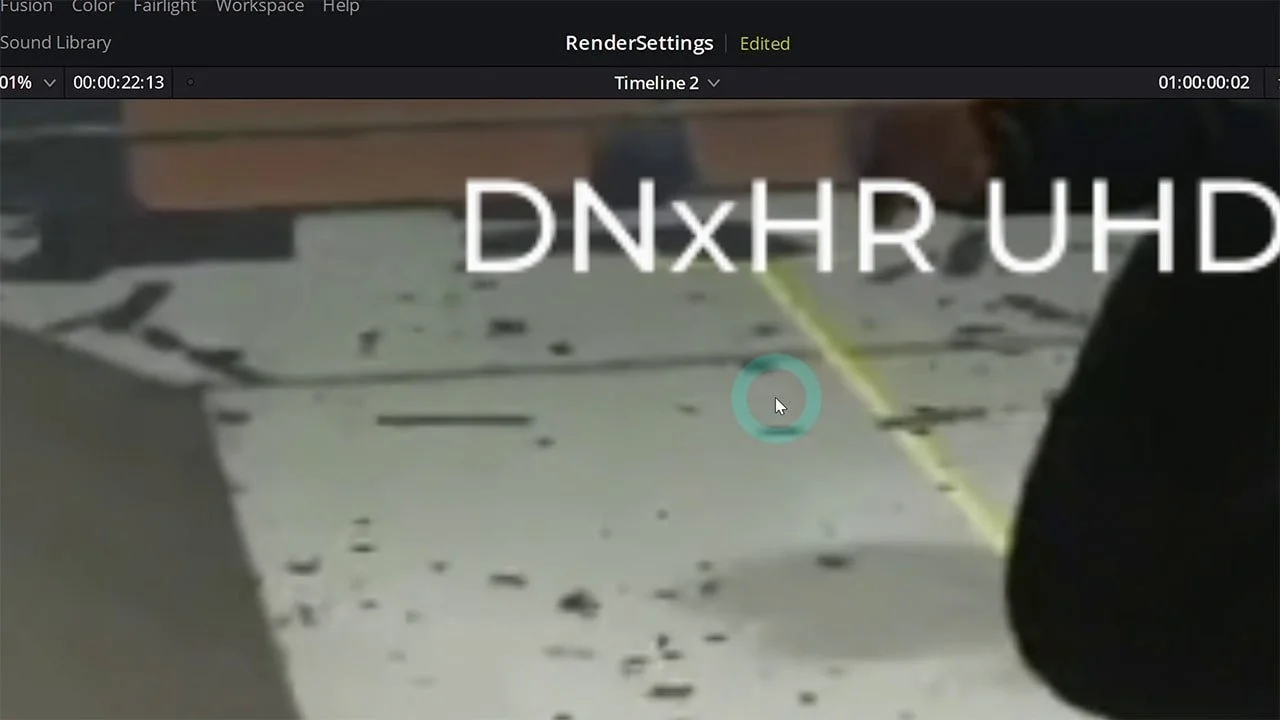
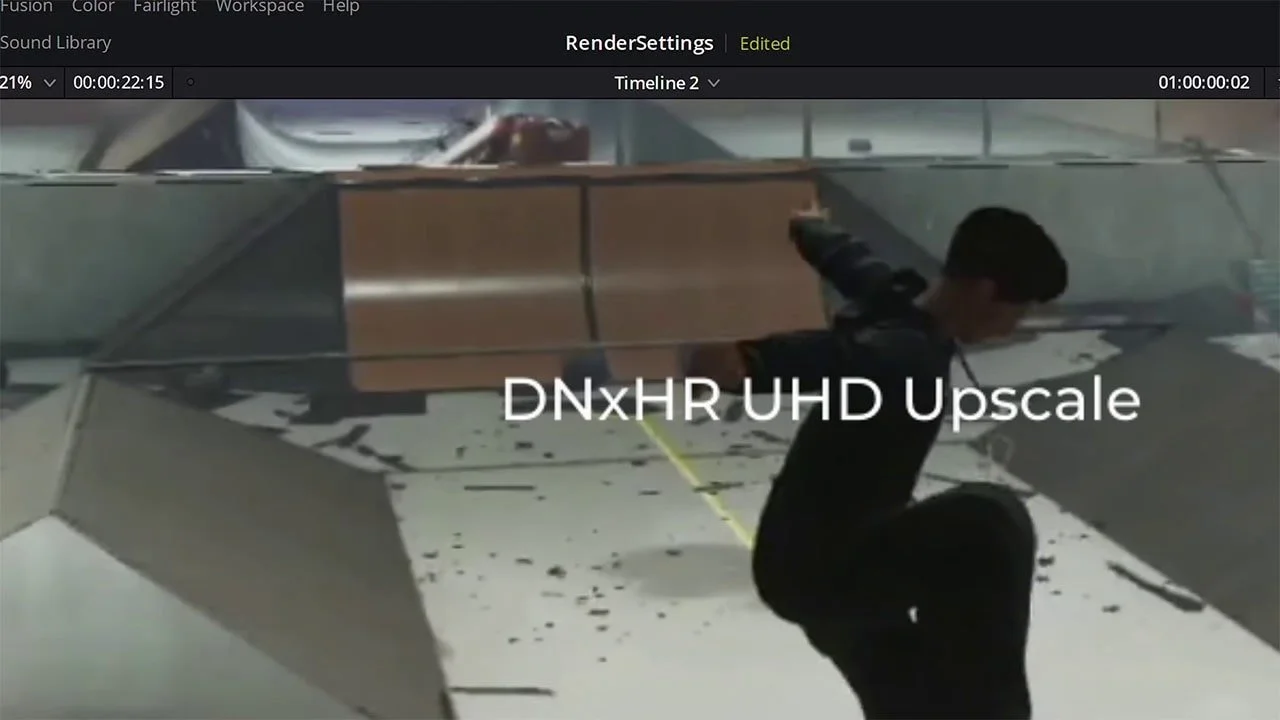
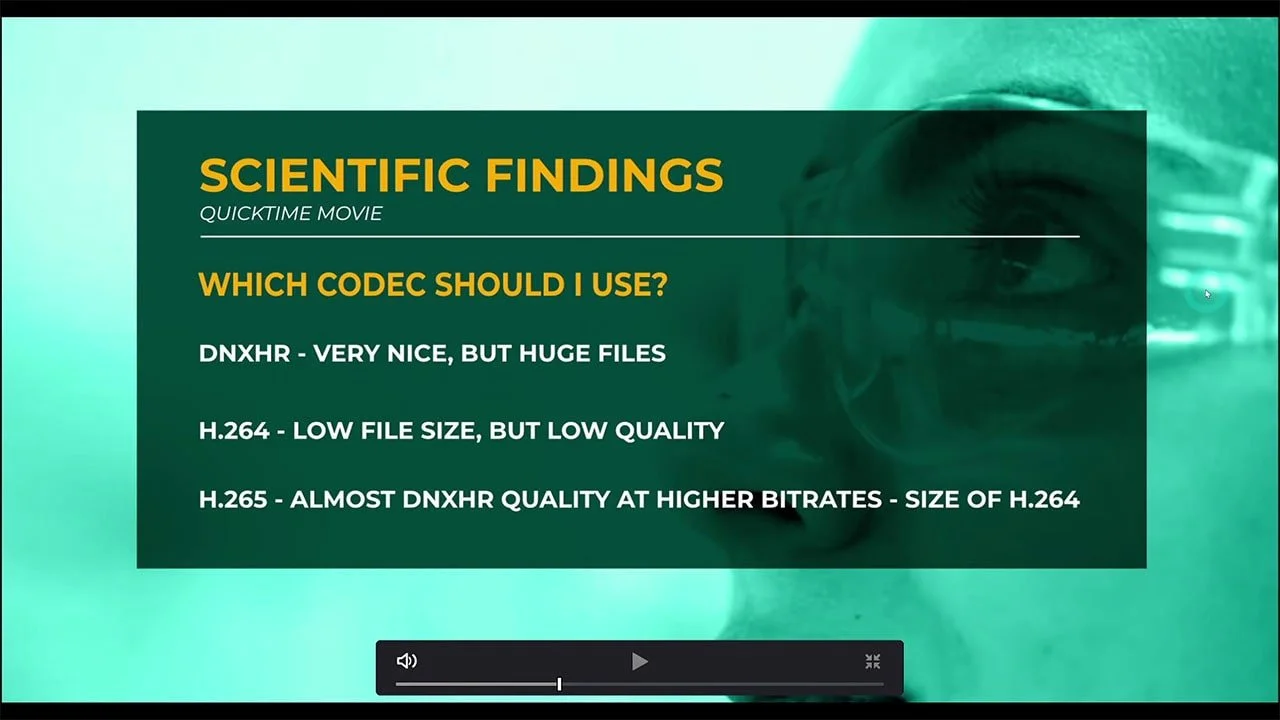
First, we found the DNxHR codec to have the best quality, but also huge file sizes. Compared to H.264 and H.265, DNxHR files are about 8-10x larger!
DNxHR is great for very light compression of your videos, such as using it for archival reasons. H.264 had the smallest file size, but the worst quality by far.
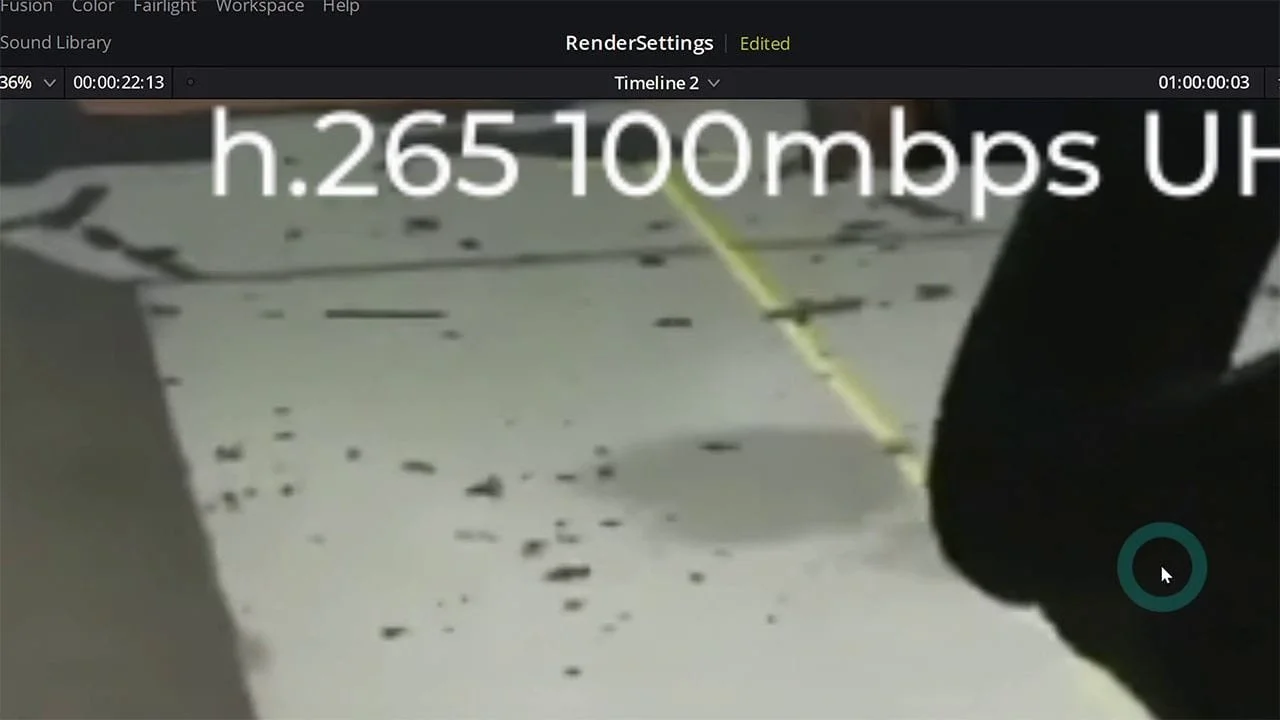
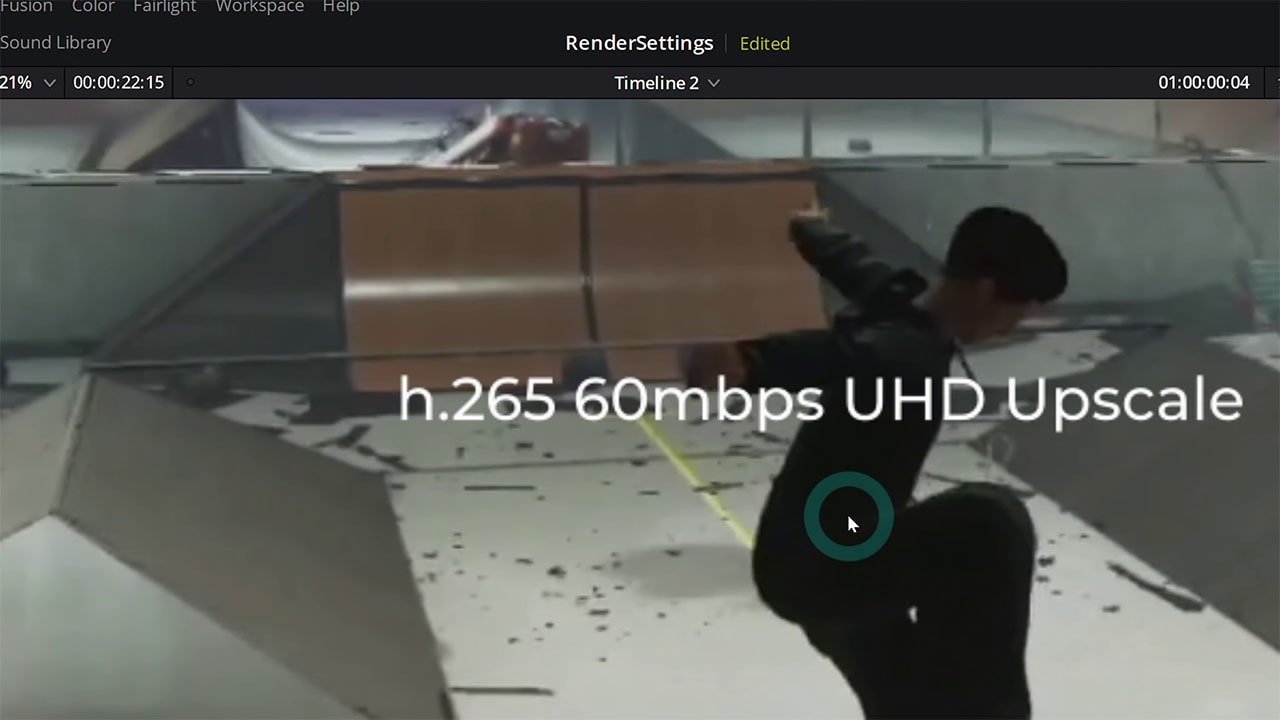
With H.265, we found we could achieve quality close to DNxHR with a file size slightly larger than H.264. On the computer we rendered the videos, H.265 finished rendering in half the time compared to DNxHR.
If you use Da Vinci Resolve on a Mac computer, you have access to H.265 with the free version. Unfortunately, Windows users will need to purchase the Studio version to be able to render in the H.265 format. Apparently this is because of complicated licensing.
Rating Render Rates
So, the H.265 codec seems to be the winner, but how did we get it to comparable quality to DNxHR? It depended on its render rate.
Comparing the same codec at different render rates, obviously larger render rates had better quality than smaller ones. What we found is that more is not always better.

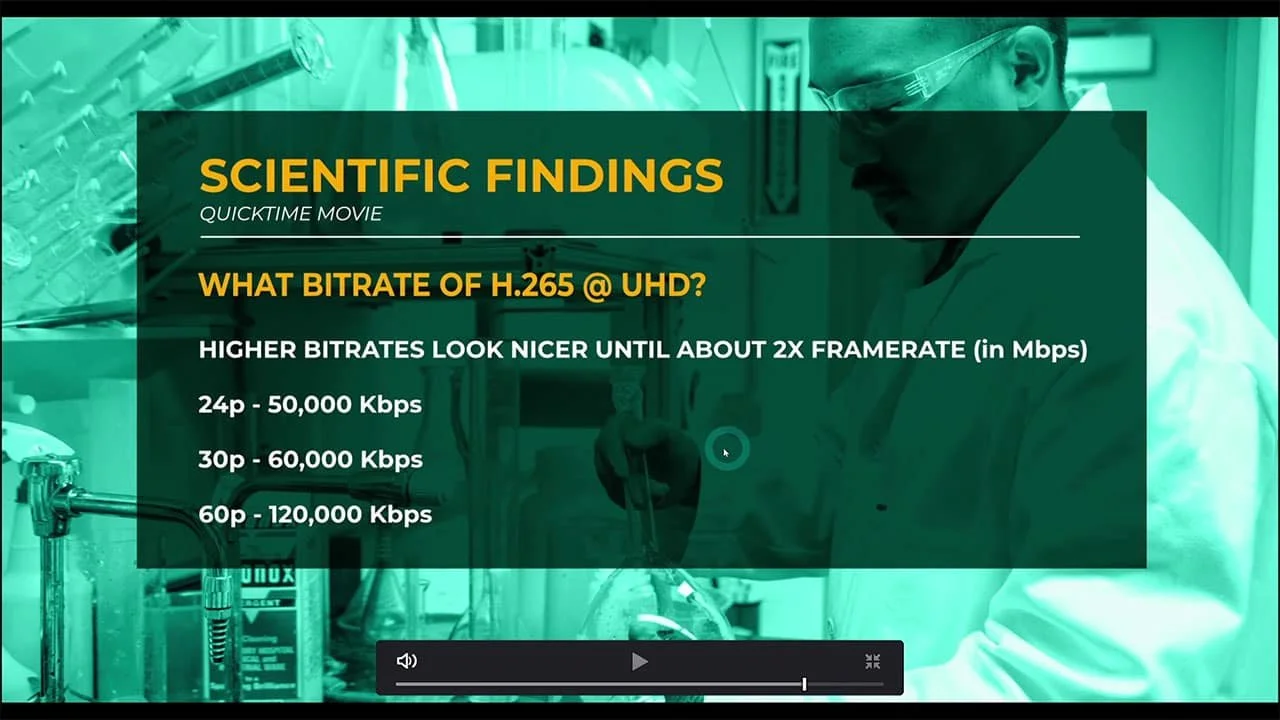
A render rate that is about 2x the frame rate seemed to be optimal. Our 30fps videos increased in quality substantially with each higher bitrate until about 60k.
Beyond that, higher bitrate had very little difference in quality. This was the case for all three codecs we tested.
We recommend a render rate that is about 2x your video’s frame rate. Here’s our suggestions: 24fps will look its best at 50mbps, 30fps should use 60mbps, and 60fps will improve substantially until 120mbps
Using UltraHD
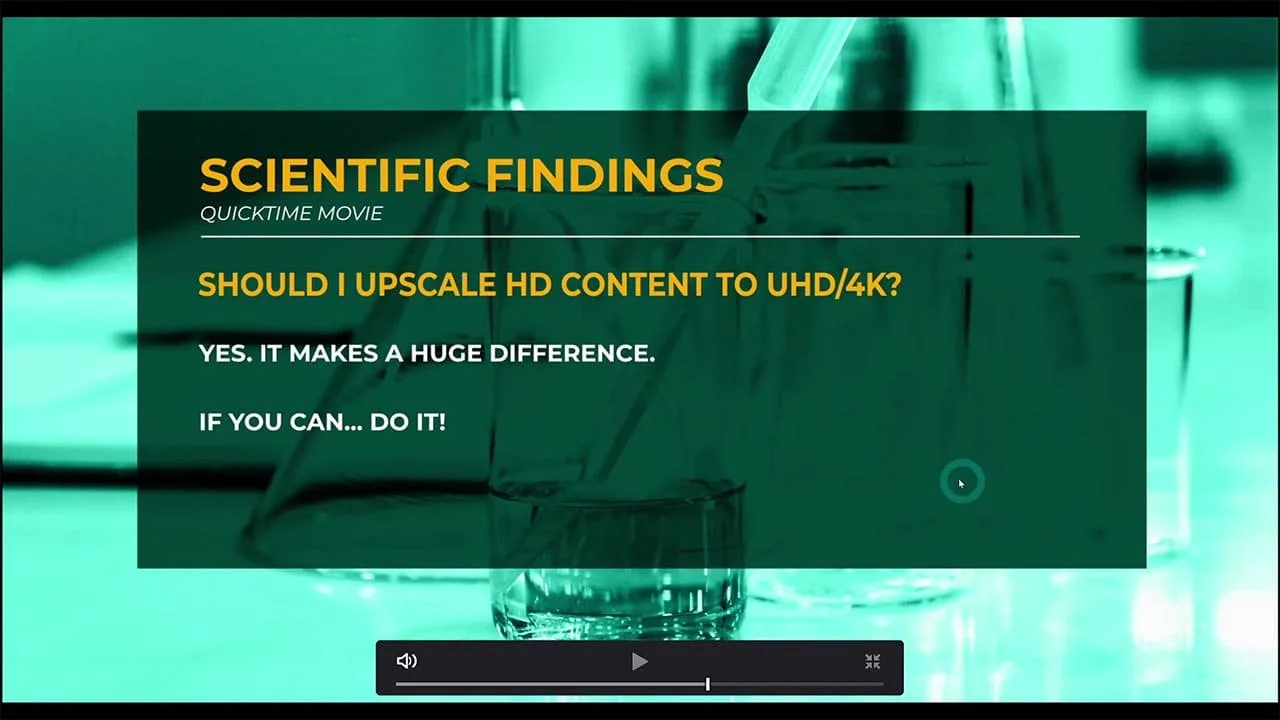
Lastly, we compared rendering the video in HD and in Ultra High Definition (UHD). All videos we looked at were recorded at 1080p, but rendering in UHD is worth it.

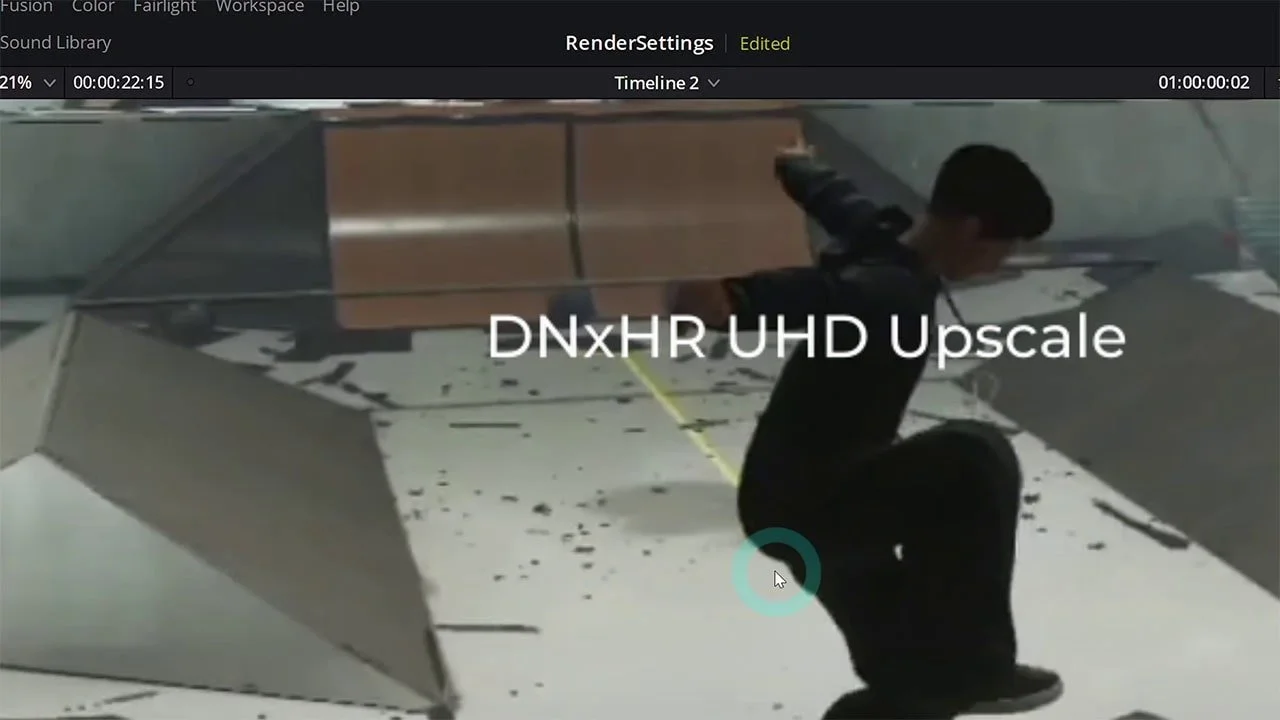
All other settings being the same, there is an obvious difference between HD and UHD. If your computer can handle upscaling and file size or rendering time aren’t an issue, we highly recommend it.
The Best Render Settings in Da Vinci Resolve for YouTube Videos
After all of our tests, rendering a video in H.265 in UHD with a render rate twice the video’s frame rate produces the best video quality for its file size.
Compared to DNxHR, H.265 can get close to the same quality with a file size almost 10x smaller and render twice as quickly.
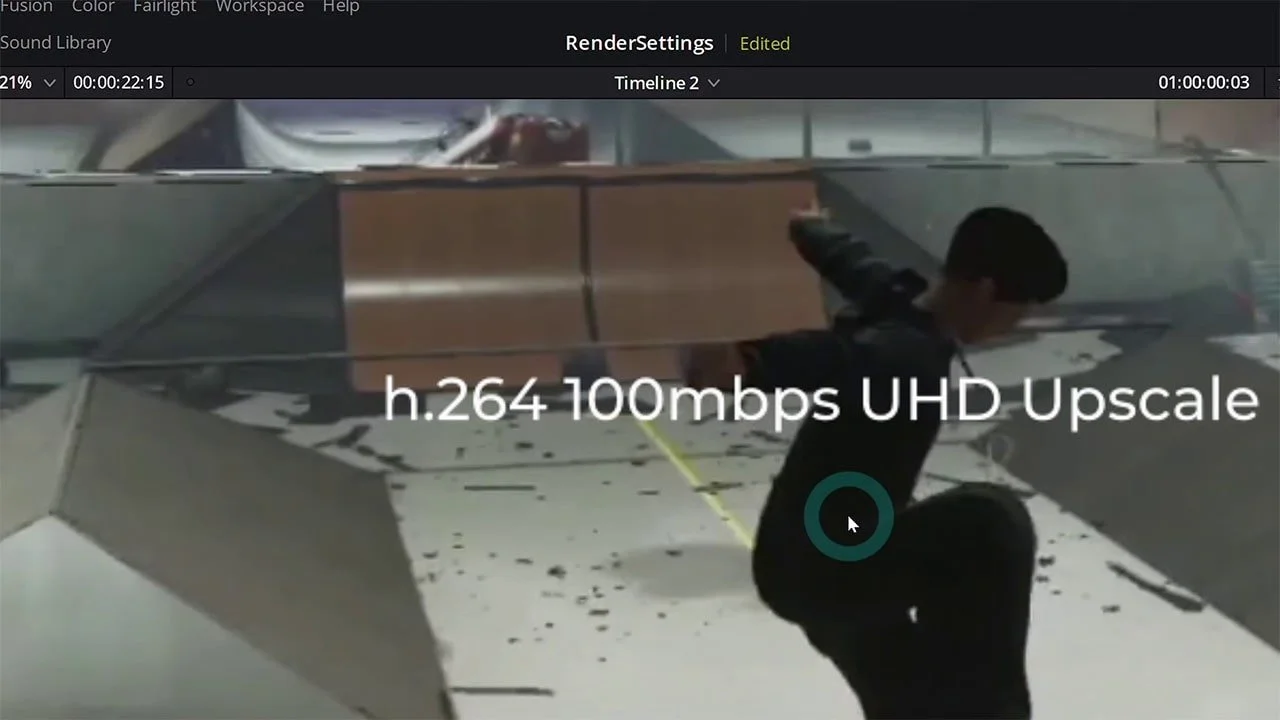
Mac users can use the free version of Da Vinci Resolve to render in H.265, while Windows users will need to get the Studio version. If you must render in H.264, the same recommendations apply: UHD with a render rate 2x the video’s frame rate.
Setting Up the Settings
If you want to render your video at our recommended settings, here’s how we do it: When going to render, switch to the YouTube preset and then back to custom. Keep your format in QuickTime and change your Codec to H.265.
Even if your video is recorded in 1080p, change the resolution to 3840x2160 Ultra HD. Under Quality, restrict to double your frame rate x1000. This is especially important if you do want to render in UHD. For example, a 30fps video would restrict quality to 60000.
Now, you can add it to the render cue. Da Vinci Resolve might give you a warning about rendering at a larger resolution than your timeline, but this is what we want, so press Add.
Happy Rendering!
Through many tests and hours of rendering, uploading, and comparing videos of different codecs, frame rates, and resolutions, we can give you a solid answer of what the best render settings are for Da Vinci Resolve with evidence.
Are you ready to learn more about Fusion? Check out our Pro Compositing class now!


Comments
Post a Comment